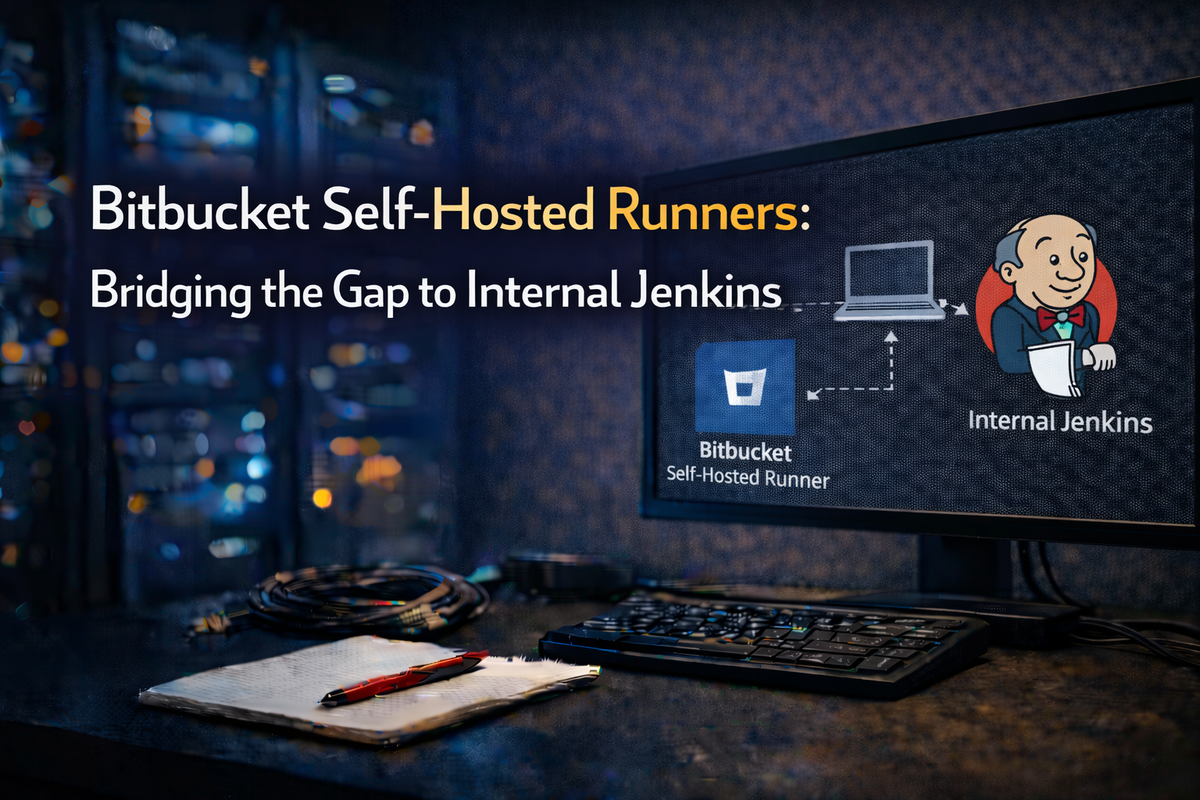
Bitbucket Self-Hosted Runners: Bridging the Gap to Internal Jenkins

Preface:
If you're running Jenkins in an internal datacenter and using Bitbucket Cloud for source control, you've likely hit this wall: Bitbucket can't send webhooks to Jenkins because your Jenkins server isn't publicly accessible. The typical workaround? Having Jenkins poll every repository for changes — which is slow, resource-intensive, and frankly, feels like we're back in 2010.
There's a better way.
The Problem
Here's the scenario: your Jenkins server lives in an internal network, safely behind firewalls. Bitbucket Cloud lives... in the cloud. When someone pushes code, Bitbucket has no way to notify Jenkins directly. So Jenkins has to constantly ask "any changes yet?" across potentially dozens of repositories. It works, but it's wasteful.
The Solution: Flip the Connection
Instead of trying to punch holes in your firewall for inbound webhooks, we can use Bitbucket's self-hosted runners to flip the connection model entirely.
Self-hosted runners are Docker containers you deploy inside your network. They reach out to Bitbucket Cloud over HTTPS to pull jobs — no inbound connections required. Once a job runs on your internal runner, it can talk to anything else on your network, including Jenkins.
The flow becomes:
- Developer pushes to Bitbucket
- Bitbucket Pipeline triggers, targeting your self-hosted runner
- Runner (inside your network) executes a simple
curlto Jenkins - Jenkins starts the build
No polling. Near-instant triggers. And your Jenkins stays safely internal.
Setting Up the Runner
Prepare Your Host
You'll need a Linux server with Docker installed. Nothing fancy — 8GB RAM minimum, and outbound HTTPS access to Bitbucket's services.
# Install Docker (Ubuntu/Debian)
sudo apt-get update && sudo apt-get install -y docker.io
sudo systemctl enable --now docker
Disable swap to avoid unpredictable build behavior:
sudo swapoff -a
sudo sysctl vm.swappiness=0
Register with Bitbucket
Head to your Bitbucket workspace settings and find Workspace runners under Pipelines. Click Add runner, select Linux Docker, give it a name like internal-jenkins-trigger, and add a custom label (we'll use internal).
Bitbucket generates a Docker command with your credentials. Run it:
docker run -d \
  --name bitbucket-runner \
  --restart=unless-stopped \
  -v /tmp:/tmp \
  -v /var/run/docker.sock:/var/run/docker.sock \
  -e ACCOUNT_UUID={your-uuid} \
  -e RUNNER_UUID={your-runner-uuid} \
  -e OAUTH_CLIENT_ID={client-id} \
  -e OAUTH_CLIENT_SECRET={client-secret} \
  -e WORKING_DIRECTORY=/tmp \
  docker-public.packages.atlassian.com/sox/atlassian/bitbucket-pipelines-runner:1
Your runner will appear as "Online" in Bitbucket within seconds.
Configuring Jenkins
I recommend the Generic Webhook Trigger plugin — it's flexible and handles JSON payloads cleanly.
Install it from Manage Jenkins > Plugins, then configure your job:
- Enable "Generic Webhook Trigger" under Build Triggers
- Set a token (e.g.,
my-project-trigger-abc123) - Add variables to extract from the payload:
REPOfrom$.repositoryBRANCHfrom$.branchCOMMITfrom$.commit
Your webhook URL becomes:
http://jenkins-server:8080/generic-webhook-trigger/invoke?token=my-project-trigger-abc123
The Pipeline
Now wire it together with a bitbucket-pipelines.yml in your repository:
image: atlassian/default-image:4

pipelines:
  default:
    - step:
        name: Trigger Jenkins
        runs-on:
          - self.hosted
          - linux
          - internal
        script:
          - |
            curl -X POST \
              -H "Content-Type: application/json" \
              -d '{
                "repository": "'"$BITBUCKET_REPO_SLUG"'",
                "branch": "'"$BITBUCKET_BRANCH"'",
                "commit": "'"$BITBUCKET_COMMIT"'"
              }' \
              "$JENKINS_WEBHOOK_URL"
Store JENKINS_WEBHOOK_URL as a secured repository variable in Bitbucket — this keeps your token out of logs and version control.
A More Robust Version
For production, add error handling:
script:
  - |
    response=$(curl -s -w "%{http_code}" -o /tmp/response.txt \
      -X POST \
      -H "Content-Type: application/json" \
      -d '{"repository": "'"$BITBUCKET_REPO_SLUG"'", "branch": "'"$BITBUCKET_BRANCH"'"}' \
      "$JENKINS_WEBHOOK_URL")

    if [ "$response" -ge 200 ] && [ "$response" -lt 300 ]; then
      echo "Jenkins triggered successfully"
    else
      echo "Failed: HTTP $response"
      cat /tmp/response.txt
      exit 1
    fi
Maintenance Tips
Clean up Docker regularly — runners accumulate images over time:
# Cron job for daily cleanup at 3 AM
0 3 * * * docker system prune -af --volumes
Monitor your runner:
docker logs -f bitbucket-runner
Security Notes
A few things to keep in mind:
- Store all tokens as secured variables, never in code
- Create a dedicated Jenkins user with minimal permissions (just enough to trigger builds)
- Use HTTPS for Jenkins if possible
- Rotate tokens periodically
Wrapping Up
This pattern — using self-hosted runners as a bridge — solves a real pain point for teams with internal CI infrastructure. You get the convenience of Bitbucket Cloud with the security of keeping Jenkins internal, and builds trigger instantly instead of waiting for the next poll cycle.
The setup takes maybe 30 minutes, and you'll wonder why you didn't do it sooner.
Have questions or run into issues? Drop a comment below.