Expanding Disk Space on LVM: A Step-by-Step Guide

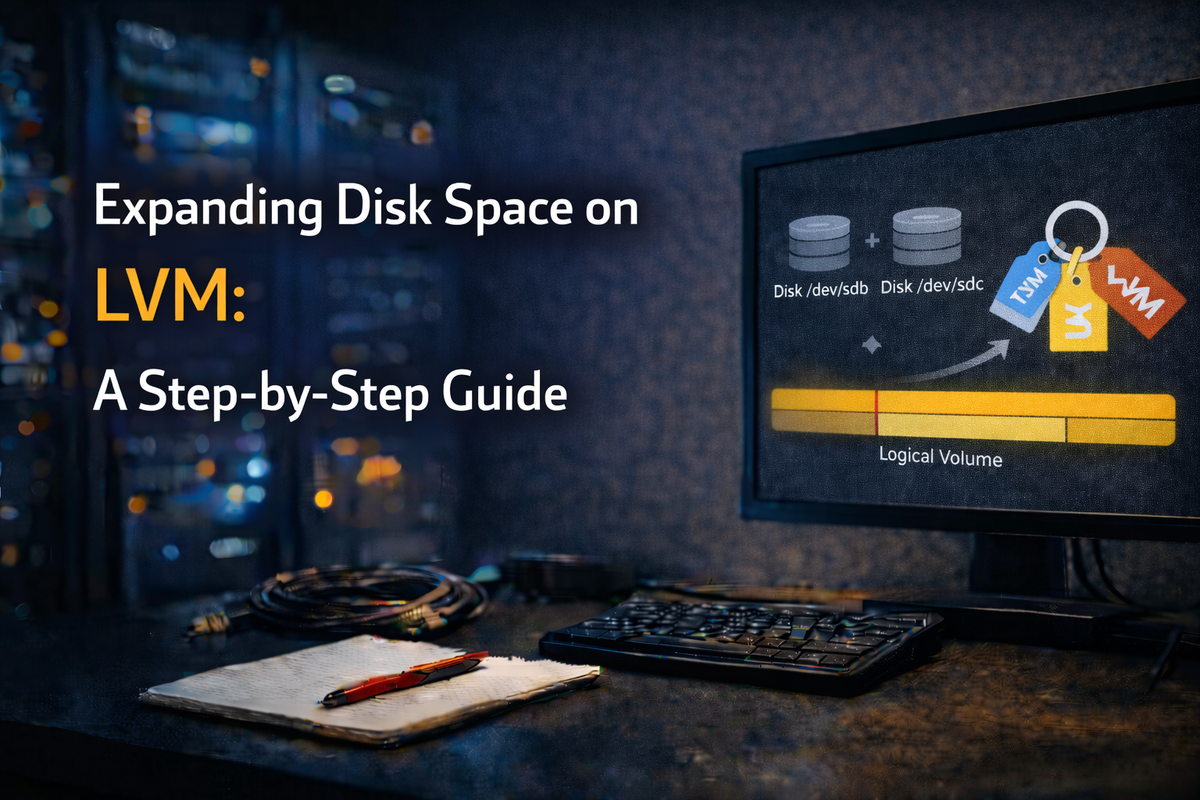
Sometimes the required disk space for an application or service is greater than initially anticipated. To prevent having to reinstall and reconfigure the server to suit your disk space needs, we can expand the filesystems with extra space that was added by adding an extra physical disk and use it to expand the available disk space to the system.
For this procedure to work you need to already utilize LVM on your disks. If not, it's still possible but a lot harder to expand your disk space. This procedure can be performed on a live system without experiencing any downtime.
To make this process as simple as possible, the process is divided into several steps. Each of these steps completes a certain task required in this process.
Step 1: Check Available Disks
The command lsblk will show all available block devices:
# lsblk -fa
NAME                   FSTYPE      LABEL UUID                                   FSAVAIL FSUSE% MOUNTPOINT
fd0
loop0                  squashfs                                                       0   100% /snap/core18/2344
sda
├─sda1
├─sda2                 LVM2_member       ycKirk-5Njf-jl0R-lGOE-jKbV-xmM5-dNEo0u
│ ├─ubuntu--vg-lv_boot ext4              09833142-b287-4b63-a06b-9ad220d3feb1      997M    16% /boot
│ ├─ubuntu--vg-lv_root ext4              8787c3f7-6651-4787-8fbb-907161694f75      8.1G    40% /
│ ├─ubuntu--vg-lv_var  ext4              7d71eec1-eec5-4083-b882-aa5256bfa98e      2.2G    72% /var
│ ├─ubuntu--vg-lv_swap swap              eb6d1ce5-46c3-4057-860b-ac9658b122df
│ └─ubuntu--vg-lv_home ext4              d8248abf-b466-480b-b962-3dfc00cc810e      5.9G     2% /home
└─sda3                 LVM2_member       Gzk1sQ-MTMY-tlr3-AH1g-2bAI-0O4V-SdkfXM
  ├─ubuntu--vg-lv_boot ext4              09833142-b287-4b63-a06b-9ad220d3feb1      997M    16% /boot
  └─ubuntu--vg-lv_root ext4              8787c3f7-6651-4787-8fbb-907161694f75      8.1G    40% /
sdb
sdc
sr0
The output shows that both the sdb and the sdc disks have no partitions on them. If the disks have a partition on them you will get the following error when you try to add the disk as a physical volume and you will need to remove the partition table manually with wipefs:
# pvcreate /dev/sdc
Device /dev/sdc excluded by a filter.
Run wipefs with the following options to remove the partition table:
wipefs --all --backup /dev/sdc
When you re-run the lsblk -fa command you will see that the disk is now empty.
Step 2: Initialize the Empty Disk as a Physical Volume
The pvcreate command initializes the empty disk so we can assign it to a volume group:
pvcreate /dev/sdc
Step 3: Check Which Volume Group You Want to Assign the Disk To
The vgdisplay command will show you which Volume Groups are available:
vgdisplay
  --- Volume group ---
  VG Name               ubuntu-vg
  System ID
  Format                lvm2
  Metadata Areas        3
  Metadata Sequence No  11
  VG Access             read/write
  VG Status             resizable
  MAX LV                0
  Cur LV                5
  Open LV               4
  Max PV                0
  Cur PV                3
  Act PV                3
  VG Size               84.87 GiB
  PE Size               4.00 MiB
  Total PE              21727
  Alloc PE / Size       16583 / <64.78 GiB
  Free  PE / Size       5144 / 20.09 GiB
  VG UUID               DD2SCh-4T1o-PhO9-sTNm-p72z-3zJg-2NNC0j
In this case we only have one Volume Group available: "ubuntu-vg".
Step 4: Extend the Volume Group with the New Disk
vgextend ubuntu-vg /dev/sdc
The output looks something like this:
Volume group "ubuntu-vg" successfully extended
You can now check with the pvscan command if the PV is assigned to the ubuntu VG:
pvscan
PV /dev/sda2   VG ubuntu-vg       lvm2 [<29.00 GiB / 0    free]
PV /dev/sda3   VG ubuntu-vg       lvm2 [<5.88 GiB / 100.00 MiB free]
PV /dev/sdc    VG ubuntu-vg       lvm2 [<50.00 GiB / <50.00 GiB free]
Total: 3 [84.87 GiB] / in use: 3 [84.87 GiB] / in no VG: 0 [0   ]
Step 5: Assign the Extra Space to a Logical Volume
To assign the extra space to a specific Logical Volume we need to run the lvextend command:
lvextend -L+30G /dev/ubuntu-vg/lv_var
The output should be similar to this:
  Size of logical volume ubuntu-vg/lv_var changed from 10.00 GiB (2560 extents) to 40.00 GiB (10240 extents).
  Logical volume ubuntu-vg/lv_var successfully resized.
Step 6: Resize the Filesystem
Now that the additional disk space is assigned to the Logical Volume, we can proceed with resizing the filesystem to make the additional space available.
The resize2fs command handles this process and is very straightforward, it only needs a single option and that's the path of the Logical Volume that it needs to resize:
resize2fs /dev/ubuntu-vg/lv_var
Output should be something similar to this:
resize2fs 1.45.5 (07-Jan-2020)
Filesystem at /dev/ubuntu-vg/lv_var is mounted on /var; on-line resizing required
old_desc_blocks = 2, new_desc_blocks = 5
The filesystem on /dev/ubuntu-vg/lv_var is now 10485760 (4k) blocks long.
If you now run the df command you can see that the additional space is available to the filesystem:
df -h /var
Filesystem                     Size  Used Avail Use% Mounted on
/dev/mapper/ubuntu--vg-lv_var   40G  7.1G   31G  19% /var
Conclusion
Expanding disk space on LVM is a straightforward process that can be done on a live system without downtime. The key steps are:
- Identify and prepare the new disk
- Initialize it as a physical volume
- Add it to the volume group
- Extend the logical volume
- Resize the filesystem
LVM makes disk management flexible and much easier to handle compared to traditional partitioning schemes.