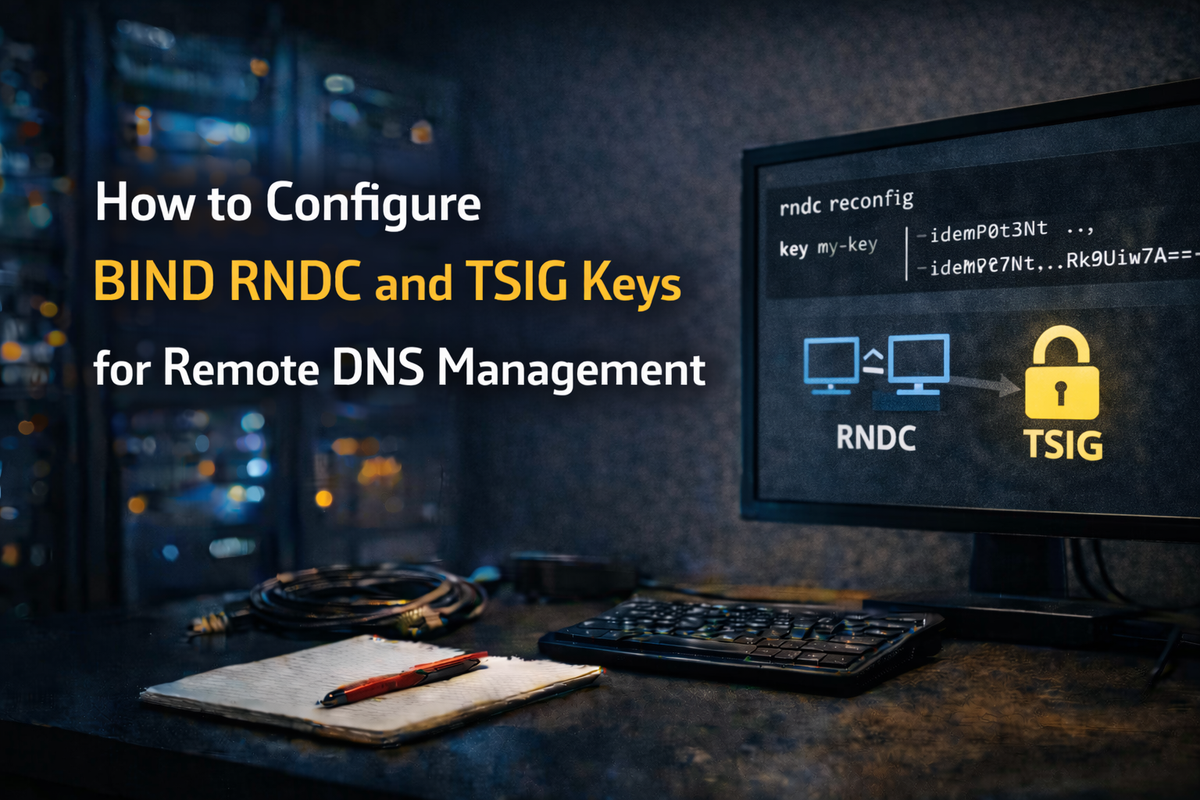
How to Configure BIND RNDC and TSIG Keys for Remote DNS Management

RNDC (Remote Name Daemon Control) is the administrative tool for managing BIND DNS servers. It allows you to reload zones, flush caches, view statistics, and perform other administrative tasks without restarting the entire service. RNDC uses TSIG (Transaction Signature) keys for authentication, ensuring only authorized administrators can control your DNS server.
Understanding RNDC and TSIG
RNDC communicates with the BIND named daemon over a TCP connection (default port 953). Every command is authenticated using a shared secret key, preventing unauthorised access to your DNS infrastructure.
TSIG (Transaction Signature) provides cryptographic authentication for DNS messages. While commonly used for zone transfers between primary and secondary servers, TSIG is also the authentication mechanism for RNDC.
Generating RNDC Keys
Automatic Generation
The simplest way to set up RNDC is using rndc-confgen with the -a flag:
rndc-confgen -a
This creates /etc/rndc.key with a randomly generated key:
key "rndc-key" {
    algorithm hmac-sha256;
    secret "base64-encoded-secret";
};
BIND automatically includes this file, so no additional configuration is needed for local administration.
Manual Generation
For more control, generate a full configuration:
rndc-confgen
This outputs both the rndc.conf content and the corresponding named.conf additions:
# Start of rndc.conf
key "rndc-key" {
    algorithm hmac-sha256;
    secret "wImDGsj5MxtGQl1nL0V2V/eTlpKs3VdS4nKxEhJVyKY=";
};

options {
    default-key "rndc-key";
    default-server 127.0.0.1;
    default-port 953;
};
# End of rndc.conf

# Use with the following in named.conf:
# key "rndc-key" {
#     algorithm hmac-sha256;
#     secret "wImDGsj5MxtGQl1nL0V2V/eTlpKs3VdS4nKxEhJVyKY=";
# };
#
# controls {
#     inet 127.0.0.1 port 953
#         allow { 127.0.0.1; } keys { "rndc-key"; };
# };
Specifying Key Algorithm
BIND supports several HMAC algorithms. Use the strongest available:
# SHA-256 (recommended)
rndc-confgen -a -A hmac-sha256

# SHA-512 (strongest)
rndc-confgen -a -A hmac-sha512

# Custom key name
rndc-confgen -a -k my-admin-key
Configuring named.conf
The Controls Statement
The controls statement defines how named accepts RNDC connections:
controls {
    inet 127.0.0.1 port 953
        allow { 127.0.0.1; } keys { "rndc-key"; };
};
Breaking this down:
inet 127.0.0.1- Listen addressport 953- TCP port (953 is default)allow { 127.0.0.1; }- IP addresses allowed to connectkeys { "rndc-key"; }- Keys accepted for authentication
Enabling Remote Administration
To manage BIND from remote hosts, expand the configuration:
key "rndc-key" {
    algorithm hmac-sha256;
    secret "wImDGsj5MxtGQl1nL0V2V/eTlpKs3VdS4nKxEhJVyKY=";
};

acl "admin-hosts" {
    127.0.0.1;
    192.168.1.10;        # Admin workstation
    192.168.1.0/24;      # Admin network
};

controls {
    inet 127.0.0.1 port 953
        allow { 127.0.0.1; } keys { "rndc-key"; };
    inet 192.168.1.1 port 953
        allow { admin-hosts; } keys { "rndc-key"; };
};
Multiple Keys for Different Access Levels
You can create separate keys for different administrators or systems:
key "admin-key" {
    algorithm hmac-sha256;
    secret "first-secret-here";
};

key "monitoring-key" {
    algorithm hmac-sha256;
    secret "second-secret-here";
};

key "secondary-ns-key" {
    algorithm hmac-sha256;
    secret "third-secret-here";
};

controls {
    inet 127.0.0.1 port 953
        allow { 127.0.0.1; } keys { "admin-key"; };
    inet 192.168.1.1 port 953
        allow { 192.168.1.0/24; } keys { "admin-key"; "monitoring-key"; };
};
Configuring rndc.conf
The client-side configuration lives in /etc/rndc.conf:
key "rndc-key" {
    algorithm hmac-sha256;
    secret "wImDGsj5MxtGQl1nL0V2V/eTlpKs3VdS4nKxEhJVyKY=";
};

options {
    default-key "rndc-key";
    default-server 127.0.0.1;
    default-port 953;
};

# Define additional servers
server dns1.example.com {
    key "rndc-key";
    port 953;
};

server dns2.example.com {
    key "rndc-key";
    port 953;
};
With multiple servers defined, specify which to manage:
rndc -s dns1.example.com reload
rndc -s dns2.example.com reload
TSIG Keys for Zone Transfers
Beyond RNDC, TSIG keys secure zone transfers between primary and secondary servers.
Generating a Transfer Key
tsig-keygen -a hmac-sha256 transfer-key
Output:
key "transfer-key" {
    algorithm hmac-sha256;
    secret "generated-secret";
};
Primary Server Configuration
key "transfer-key" {
    algorithm hmac-sha256;
    secret "generated-secret";
};

server 192.168.1.3 {
    keys { "transfer-key"; };
};

zone "example.com" {
    type primary;
    file "/var/named/zones/example.com.zone";
    allow-transfer { key "transfer-key"; };
    also-notify { 192.168.1.3; };
};
Secondary Server Configuration
key "transfer-key" {
    algorithm hmac-sha256;
    secret "generated-secret";
};

server 192.168.1.2 {
    keys { "transfer-key"; };
};

zone "example.com" {
    type secondary;
    file "/var/named/zones/example.com.zone";
    primaries { 192.168.1.2; };
};
Essential RNDC Commands
Once configured, RNDC provides powerful administrative capabilities:
Zone Management
# Reload all zones
rndc reload

# Reload specific zone
rndc reload example.com

# Reload zone in specific view
rndc reload example.com IN internal

# Force zone refresh (secondary)
rndc refresh example.com

# Re-transfer zone (secondary)
rndc retransfer example.com

# Sign zone with DNSSEC keys
rndc sign example.com

# Freeze zone for manual editing
rndc freeze example.com

# Thaw zone after editing
rndc thaw example.com
Cache Management
# Flush entire cache
rndc flush

# Flush specific name from cache
rndc flushname example.com

# Flush entire domain tree
rndc flushtree example.com
Server Control
# Reload configuration (not zones)
rndc reconfig

# Check server status
rndc status

# Stop the server
rndc stop

# Halt immediately
rndc halt
Logging and Debugging
# Dump cache to file
rndc dumpdb -cache

# Dump zones to file
rndc dumpdb -zones

# Write server statistics
rndc stats

# Increment debug level
rndc trace

# Disable debugging
rndc notrace

# Toggle query logging
rndc querylog
Security Best Practices
Key File Permissions
# Restrict key file access
chmod 640 /etc/rndc.key
chown root:named /etc/rndc.key

chmod 640 /etc/rndc.conf
chown root:named /etc/rndc.conf
Separate Keys per Purpose
Use different keys for different functions:
# Administrative key - full access
key "admin-key" {
    algorithm hmac-sha512;
    secret "admin-secret";
};

# Transfer key - zone transfers only
key "xfr-key" {
    algorithm hmac-sha256;
    secret "transfer-secret";
};

# Update key - dynamic updates only
key "update-key" {
    algorithm hmac-sha256;
    secret "update-secret";
};
Firewall Rules
Restrict RNDC port access:
# Allow RNDC only from admin network
iptables -A INPUT -p tcp --dport 953 -s 192.168.1.0/24 -j ACCEPT
iptables -A INPUT -p tcp --dport 953 -j DROP

# Or with firewalld
firewall-cmd --permanent --add-rich-rule='rule family=ipv4 source address=192.168.1.0/24 port port=953 protocol=tcp accept'
Avoid Storing Keys in Main Config
Use include statements for key files:
include "/etc/named/keys/rndc.key";
include "/etc/named/keys/transfer.key";
This keeps sensitive data separate and simplifies key rotation.
Troubleshooting
Connection Refused
rndc status
# rndc: connect failed: 127.0.0.1#953: connection refused
Check that named is running and the controls statement is configured:
systemctl status named
named-checkconf /etc/named.conf
ss -tlnp | grep 953
Authentication Failure
rndc status
# rndc: decode64 failed
# rndc: authentication failed
Verify keys match between rndc.conf and named.conf:
# Compare secrets
grep secret /etc/rndc.key
grep secret /etc/rndc.conf
Permission Denied
Check file permissions and SELinux:
ls -la /etc/rndc.key
getenforce
ausearch -m AVC -ts recent | grep named
Conclusion
RNDC and TSIG keys are essential for secure DNS administration. Proper configuration enables safe remote management while preventing unauthorized access. Use strong algorithms like HMAC-SHA256 or HMAC-SHA512, separate keys for different purposes, and always restrict network access to administrative ports.
The next post in this series will cover zone security, including views, ACLs, and query restrictions to protect your DNS infrastructure from abuse.