How to Setup BIND as a Recursive DNS Resolver

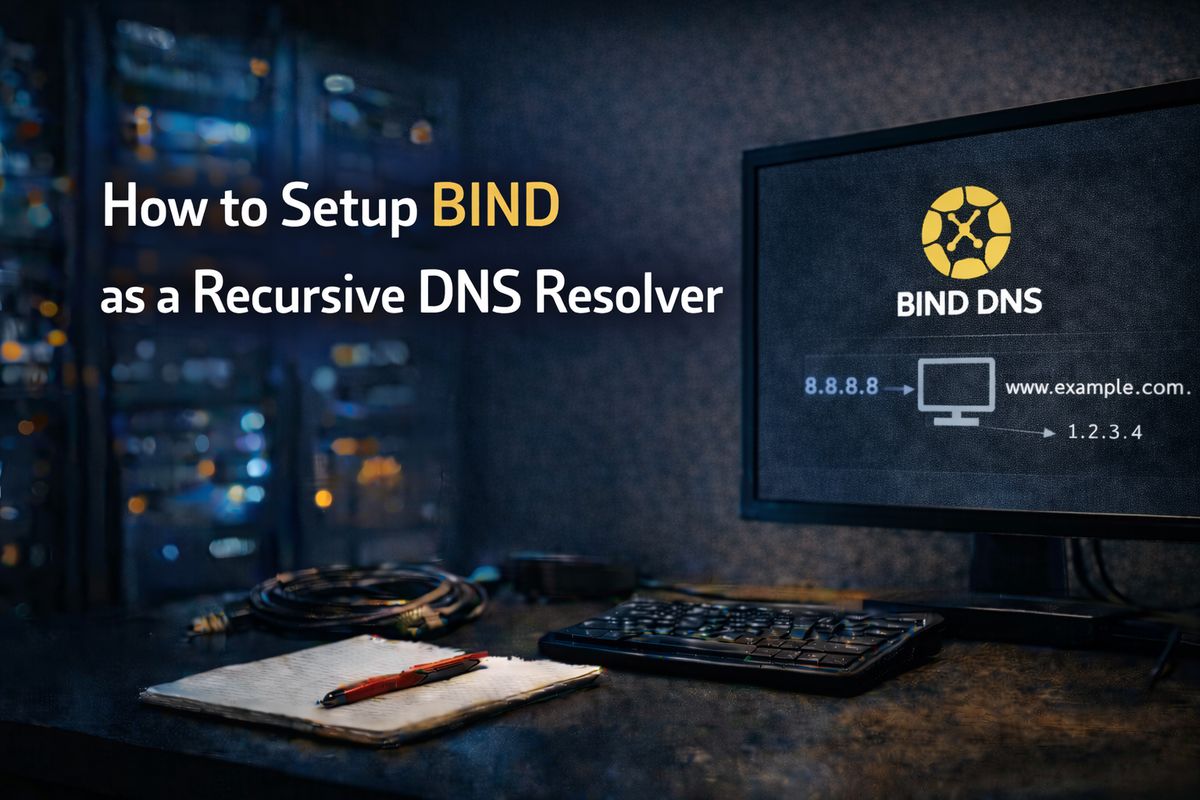
A recursive DNS resolver is the workhorse of DNS infrastructure, handling client queries by recursively querying authoritative nameservers until it finds the answer. BIND 9 is the most widely deployed DNS software and makes an excellent choice for running your own resolver. In this guide, we'll set up a secure, high-performance BIND recursive resolver.
1. Why Run Your Own Resolver?
Running your own recursive resolver provides several benefits:
- Privacy - Your DNS queries stay on your network instead of going to third-party providers
- Performance - Local caching reduces latency for repeated queries
- Control - You can implement custom filtering, logging, and policies
- Reliability - No dependency on external DNS providers
2. Installation
Install BIND on your system:
Debian/Ubuntu:
sudo apt update
sudo apt install -y bind9 bind9utils bind9-doc dnsutils
RHEL/Rocky/AlmaLinux:
sudo dnf install -y bind bind-utils
Enable and start the service:
sudo systemctl enable --now named
3. Basic Configuration
The main configuration file is /etc/bind/named.conf (Debian) or /etc/named.conf (RHEL). We'll create a clean, security-focused configuration.
3.1. Define Access Control Lists
First, define which networks are allowed to use your resolver. Create or edit /etc/bind/named.conf.options:
// Define trusted networks
acl "trusted" {
    localhost;
    localnets;
    192.168.0.0/16;
    10.0.0.0/8;
    172.16.0.0/12;
};

options {
    directory "/var/cache/bind";

    // Network interface settings
    listen-on port 53 { any; };
    listen-on-v6 port 53 { any; };

    // Recursion settings - CRITICAL for security
    recursion yes;
    allow-recursion { trusted; };
    allow-query { trusted; };
    allow-query-cache { trusted; };

    // Disable zone transfers (not needed for resolver)
    allow-transfer { none; };

    // DNSSEC validation
    dnssec-validation auto;

    // Query source port randomization (security)
    query-source address * port *;

    // Performance tuning
    max-cache-size 256m;
    max-cache-ttl 86400;
    max-ncache-ttl 3600;

    // Prevent amplification attacks
    minimal-responses yes;

    // Hide version string
    version "not disclosed";

    // Logging
    querylog no;
};
3.2. Security Hardening
Add these security options to prevent common attacks:
options {
    // ... previous options ...

    // Prevent loopback/localhost attacks
    deny-answer-addresses {
        127.0.0.0/8;
        ::1/128;
    } except-from { "none"; };

    // Rate limiting to prevent abuse
    rate-limit {
        responses-per-second 10;
        window 5;
    };

    // Disable empty zones for internal networks
    empty-zones-enable yes;
};
4. Forwarding Configuration (Optional)
If you want your resolver to forward queries to upstream servers instead of performing full recursion, configure forwarders:
options {
    // ... previous options ...

    // Forward to upstream resolvers
    forwarders {
        1.1.1.1;        // Cloudflare
        8.8.8.8;        // Google
        9.9.9.9;        // Quad9
    };

    // Forward first, then recurse if forwarders fail
    forward first;
};
Use forward only; if you want to exclusively use forwarders without fallback recursion.
5. Logging Configuration
Set up proper logging for troubleshooting and security monitoring. Add to your configuration:
logging {
    channel default_log {
        file "/var/log/named/default.log" versions 3 size 5m;
        severity info;
        print-time yes;
        print-severity yes;
        print-category yes;
    };

    channel query_log {
        file "/var/log/named/query.log" versions 5 size 10m;
        severity info;
        print-time yes;
    };

    channel security_log {
        file "/var/log/named/security.log" versions 3 size 5m;
        severity warning;
        print-time yes;
        print-severity yes;
    };

    category default { default_log; };
    category queries { query_log; };
    category security { security_log; };
    category client { security_log; };
};
Create the log directory:
sudo mkdir -p /var/log/named
sudo chown bind:bind /var/log/named
6. Root Hints
Ensure you have current root hints for proper recursion. BIND usually includes these, but you can update them:
sudo curl -o /var/cache/bind/named.root https://www.internic.net/domain/named.root
Reference it in your configuration:
zone "." {
    type hint;
    file "/var/cache/bind/named.root";
};
7. Validate and Start
Check your configuration for errors:
sudo named-checkconf
If there are no errors, restart BIND:
sudo systemctl restart named
Check the status:
sudo systemctl status named
sudo journalctl -u named -f
8. Testing
Test your resolver from a client machine:
# Test basic resolution
dig @your-resolver-ip google.com

# Test DNSSEC validation
dig @your-resolver-ip dnssec-failed.org
# Should return SERVFAIL (DNSSEC validation failure)

# Check resolver statistics
dig @your-resolver-ip +short version.bind txt chaos
Test from the DNS-OARC port randomization tool:
dig @your-resolver-ip +short porttest.dns-oarc.net txt
You should see "GREAT" indicating good source port randomization.
9. Firewall Configuration
Allow DNS traffic through your firewall:
# UFW (Ubuntu)
sudo ufw allow from 192.168.0.0/16 to any port 53

# firewalld (RHEL)
sudo firewall-cmd --permanent --add-service=dns
sudo firewall-cmd --reload

# iptables
sudo iptables -A INPUT -p udp --dport 53 -s 192.168.0.0/16 -j ACCEPT
sudo iptables -A INPUT -p tcp --dport 53 -s 192.168.0.0/16 -j ACCEPT
10. Complete Configuration Example
Here's a complete /etc/bind/named.conf.options for reference:
acl "trusted" {
    localhost;
    localnets;
    192.168.0.0/16;
    10.0.0.0/8;
};

options {
    directory "/var/cache/bind";

    listen-on port 53 { any; };
    listen-on-v6 port 53 { any; };

    recursion yes;
    allow-recursion { trusted; };
    allow-query { trusted; };
    allow-query-cache { trusted; };
    allow-transfer { none; };

    dnssec-validation auto;
    query-source address * port *;

    max-cache-size 256m;
    max-cache-ttl 86400;
    max-ncache-ttl 3600;

    minimal-responses yes;
    version "not disclosed";

    deny-answer-addresses {
        127.0.0.0/8;
        ::1/128;
    } except-from { "none"; };

    rate-limit {
        responses-per-second 10;
        window 5;
    };
};

logging {
    channel default_log {
        file "/var/log/named/default.log" versions 3 size 5m;
        severity info;
        print-time yes;
        print-severity yes;
    };

    category default { default_log; };
};
11. Conclusion
You now have a secure, properly configured BIND recursive resolver. Key points to remember:
- Never run an open resolver - Always restrict access with ACLs
- Enable DNSSEC validation - Protects against cache poisoning
- Use rate limiting - Prevents amplification attacks
- Monitor logs - Watch for unusual activity
- Keep BIND updated - Security patches are released regularly
In the next posts, we'll cover setting up BIND as an authoritative server, configuring DNSSEC, and implementing DNS over TLS/HTTPS.